

How to Convert Scanned Files for Editing
- umberfakharseoserv
- Dec 20, 2024
- 4 min read
In the digital age, scanned files are often used to preserve and share important documents. However, the process of editing these scanned files can sometimes pose a challenge. Scanned documents are typically saved as images or PDFs, making it difficult to modify the content directly. Thankfully, there are tools and techniques available to convert scanned files into editable formats. In this blog, we’ll explore step-by-step methods, popular tools, and practical tips to help you make scanned documents editable.
Understanding Scanned Files
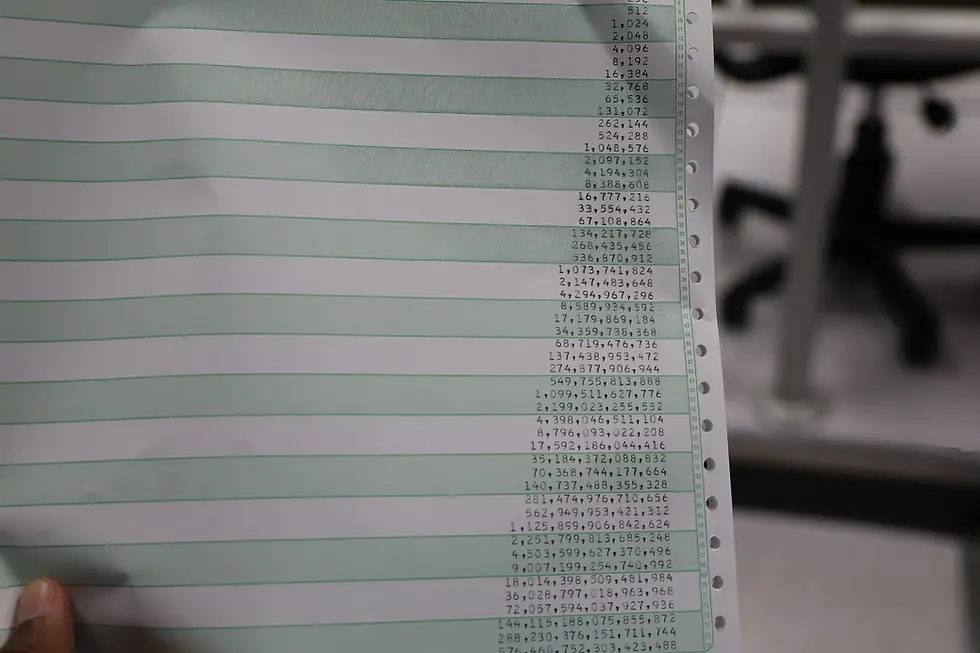
A scanned file is essentially a digital image of a document. When you scan a paper document, the scanner creates a pixel-based image of the text and graphics. As a result, the text in these images is not directly editable because it is not stored as digital text data but as a visual representation of the text.
To edit a scanned file, you need to use Optical Character Recognition (OCR) technology. OCR software converts the image-based text into machine-readable, editable text.
Step-by-Step Guide to Converting Scanned Files for Editing
Step 1: Choose the Right OCR Tool
There are numerous OCR tools available, ranging from free online platforms to premium software. Some popular options include:
Adobe Acrobat Pro DC: Offers advanced OCR capabilities for converting scanned PDFs to editable text.
ABBYY FineReader: A powerful OCR software with excellent accuracy and batch processing options.
Google Drive: Includes basic OCR functionality for converting images or PDFs to editable Google Docs.
Online OCR Tools: Free websites like OnlineOCR.net and Smallpdf provide quick OCR services for smaller files.
Step 2: Scan Your Document Properly
If you haven’t scanned your document yet, make sure to scan it at a high resolution (at least 300 DPI). Clear and high-quality scans improve OCR accuracy.

Step 3: Upload the Scanned File
Load your scanned file into the chosen OCR tool. Depending on the platform, this might involve uploading the file to a website, opening it in desktop software, or importing it into a cloud service.
Step 4: Perform OCR
Activate the OCR process. The software will analyze the document, recognize text, and convert it into an editable format. Some tools allow you to specify languages or adjust settings for better accuracy.
Step 5: Edit and Format
Once the OCR process is complete, you can edit the converted text. Be prepared to make some manual corrections, as OCR is not always 100% accurate, especially with poor-quality scans or unusual fonts.
Step 6: Save or Export
Save the edited file in your desired format, such as Word, Excel, or plain text. Ensure the formatting and layout meet your requirements before finalizing.
Tools for Converting Scanned Files
Here is a closer look at some of the most popular tools:
1. Adobe Acrobat Pro DC
Pros: Reliable, integrates well with other Adobe tools, high OCR accuracy.
Cons: Subscription-based, expensive for casual users.
2. ABBYY FineReader
Pros: Exceptional accuracy, supports multiple languages, advanced editing features.
Cons: High cost.
3. Google Drive
Pros: Free, cloud-based, simple to use.
Cons: Limited formatting capabilities, less accurate for complex layouts.
4. Smallpdf
Pros: Free version available, user-friendly interface.
Cons: Limited features in the free version, reliant on internet connectivity.
Tips for Better OCR Results
Use High-Quality Scans: Ensure the scanned document is clear and free of smudges or marks.
Check Language Settings: If your document includes multiple languages, select them in the OCR settings.
Proofread the Output: Always review and correct errors in the converted text.
Avoid Handwritten Text: OCR works best with typed text. Handwritten notes may require specialized tools.
Conclusion
Converting scanned files into editable formats doesn’t have to be a daunting task. By using the right tools and following the outlined steps, you can efficiently edit and repurpose your scanned documents. Whether you choose a free online solution or invest in premium software, the key is to match the tool to your needs. With these tips and insights, you’re well-equipped to handle scanned documents like a pro!
FAQ: Frequently Asked Questions
1. What is OCR technology?
Optical Character Recognition (OCR) is a technology that converts text in scanned documents or images into editable and machine-readable text.
2. Can I use free tools to convert scanned files?
Yes, free tools like Google Drive, OnlineOCR.net, and Smallpdf can handle basic OCR tasks. However, for complex or large-scale projects, premium software may offer better results.
3. Is it possible to edit handwritten scanned documents?
Editing handwritten documents is challenging. Some advanced tools like Microsoft OneNote or Google Lens can recognize handwriting, but accuracy varies significantly.
4. What file formats can I convert to?
Most OCR tools allow you to convert scanned files into formats such as Word (.docx), Excel (.xlsx), plain text (.txt), and searchable PDF.
5. How accurate is OCR?
OCR accuracy depends on factors such as scan quality, font type, and the software used. High-quality scans and advanced OCR tools usually yield the best results.
6. Are there mobile apps for OCR?
Yes, apps like Adobe Scan, Microsoft Lens, and CamScanner provide OCR functionality on smartphones.
7. How do I preserve formatting during OCR?
Premium tools like Adobe Acrobat Pro DC and ABBYY FineReader are better at preserving complex layouts, tables, and fonts.


Comments